Know IT Now! Using Outlook Scheduling Assistant to Create Meeting Invitations
Attention: All Associates
Outlook Scheduling Assistant
Outlook Scheduling Assistant is an easy means to invite attendees to meetings or appointments and see their availability in advance. You can create a meeting request, add attendees, see when they are free or busy, and send an invitation that adds a tentative appointment to their calendar, which they may accept or deny. Once an invitation is accepted, it marks the time as busy on the attendee's calendar.
Creating a New Meeting Request
Follow these steps to create a new meeting request using Scheduling Assistant:
1. In Outlook, click "Calendar" in the bottom left corner of the screen.
2. From the "Home" tab, at the top left of the screen, click "New Meeting" and select "New Meeting" from the drop-down list.

3. A new window appears. From the "Meeting" tab, select "Scheduling Assistant."

The Scheduling Assistant view appears, which looks like a spreadsheet. Your name and schedule will appear in the top row.

Note: On the right-hand side, you will see the "Suggested Times" list. As you add attendees to your meeting, this list will adjust to provide possible meeting times during which your required attendees and/or locations are available. The times correspond to the date and meeting duration that you have currently selected.
4. Next, add attendees. There are multiple ways to add attendees to your meeting requests:
Directly into the Attendees' List
If you know the name or username of the person you wish to add, click in the textbox under your name that says Click here to add a name, and type in the person's name or username.

Example: Debbie Moreno
Example: DMoreno

OR Through Outlook Address Book
Use Address Book to look up a person's name instead by clicking on "Address Book" in the "Meeting" tab at the top of the screen and using the search box. Click "OK" to add the person to the scheduling view.

OR Through Add Attendees Button
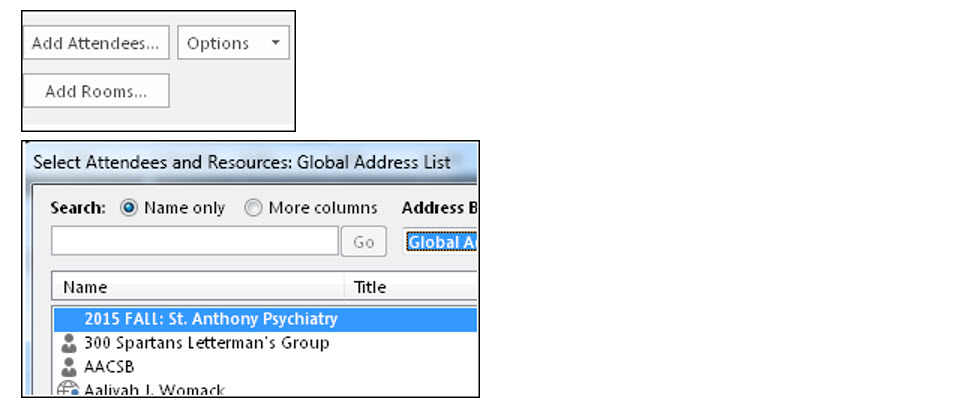
Click "Add Attendees" in the bottom left corner of the screen and use the search box to find names. Click "OK" to add the person to the scheduling view.
Note: You may add as many attendee names as you wish. Each time you add a name, their availability will be added to the schedule. You can determine an attendee's availability following the color codes:
- Blue indicates the person is busy.
- Blue and White forward stripes indicate the person has a tentative appointment.
- Purple indicates the person will be out of the office.
- Black and White backward stripes indicate that Outlook does not have information for the person's availability. Either the user is not an Outlook/Exchange user or the user does not have their Outlook Calendar set up.

5. Next, you can set the start and end dates and times in the bottom right corner of the screen. To change the date, click the calendar icon and select the appropriate date. To change the time, use the drop-down menus.

Note: When you change the time, you are changing the duration of the meeting in the Suggested Times list and it will only suggest openings that fit that duration.
6. From the Suggested Times list, choose the desired time. Conflict-free times appear at the top of the list.
7. Click "Appointment" in the Meeting tab at the top of the screen.
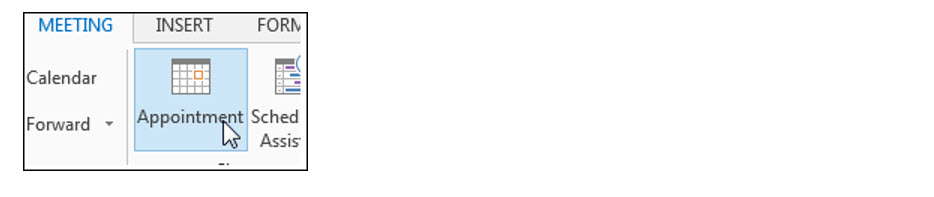
8. This will return you to the Appointment screen. You will see the details for the date and time you selected. Add a subject and location to the appropriate text boxes. If desired, enter text to appear in the body of the message.
9. Click "Send."
Wednesday, March 27, 2019 - 09:54